
|

|
|
|
ONEX #54 Web Site
|
Date: 11-18-2013
|
Number of Hours: 5.00
|
Manual Reference: P10
|
Brief Description: Baffles attached
|
|
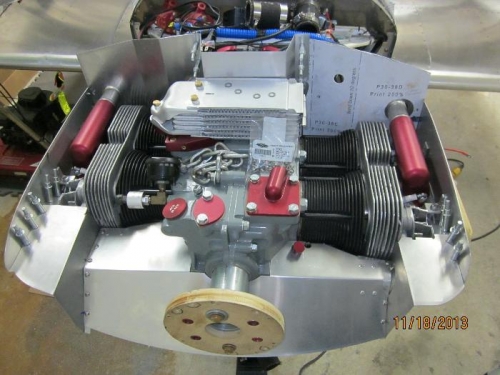
Installed the right rear corner bracket. Image one shows the bracket in place and the lower portion trimmed since the excess material served no purpose. Installed CCC-42 flush rivets on the outside, similar to the fence bracket installation, to provide clearance for the upper cowling.
Drilled and cleco'd the rear, side and corner pieces together. With the clecos installed, I could remove and install these parts as one assembly. This suggests I may be able to rivet them all together. The baffle would then only be two pieces, the back/side assembly and the lower front baffle. This presumes I figure a way to remove the spark plugs with the side baffles in place.
Fitted and cleco'd the lower front baffle.
Installed the lower cowling to start trimming the lower front baffle for clearance. A lot of mark the baffle, remove, cut, install, mark, remove, cut, install, etc, etc. Finally have non-interference clearance, but might still need to do more depending on how the baffle seals need to be fitted. They may need more space for some compression when installed.
|
|

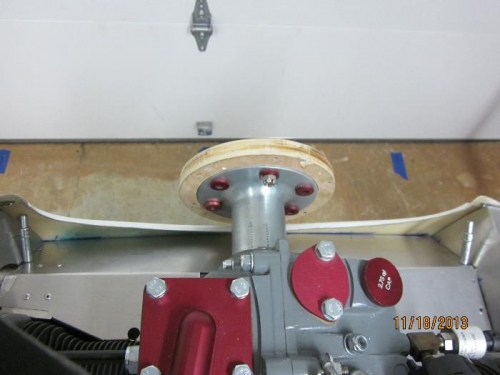
P01-44 trimmed and cleco'd
|
|
Baffles connected to each other
|
|
Lower front baffle trimmed for clearance
|
|
|
|
|
|
|
|
|
Copyright © 2001-2024 Matronics. All Rights Reserved.
|